If you’re a proud owner of a Harley Davidson motorcycle, you know how important it is to keep your bike in top condition at all times. One of the most common issues that owners have to deal with is an unreliable or malfunctioning ignition switch. This can be frustrating, but thankfully, there are some simple steps you can take to diagnose and solve the problem quickly and easily – no need for a costly repair job or professional help! Keep reading for an overview of common Harley ignition switch problems, as well as some tips on diagnosing and replacing these switches yourself at home without too much hassle or expense.
Common Harley Ignition Switch Problems
Harley ignition switches are subject to a variety of problems that can arise over time. Some of the most common issues include worn out contacts, corrosion, and loose wiring connections. In some cases, the switch itself may be defective or even broken entirely. It’s important to be able to recognize the signs and symptoms that indicate a problem with your ignition switch in order to address it properly. Symptoms may include difficulty starting your engine, erratic turning on and off without any external cause, or strange electrical behavior such as flickering lights or inconsistent power output from components like the starter motor.
How to Diagnose Ignition Switch Issues
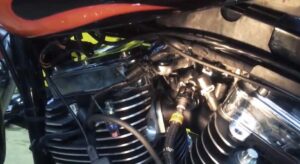
Fortunately, diagnosing an issue with your Harley’s ignition switch is relatively straightforward – all you need is a basic multi-meter. Begin by inspecting all wiring connections, looking for any signs of wear or corrosion on exposed surfaces. If everything looks okay there, use your multi-meter to test for continuity between each contact point within the switch itself (consult your owner’s manual if you need assistance determining which connections should exhibit continuity). If there is no continuity between two points when they should have it – or if there is too much resistance – this indicates that something is wrong with the switch and should be replaced. Also discover the common issues associated with Harley Davidson Switchback Motorcycles and learn how to troubleshoot them.
How to Replace a Harley Ignition Switch
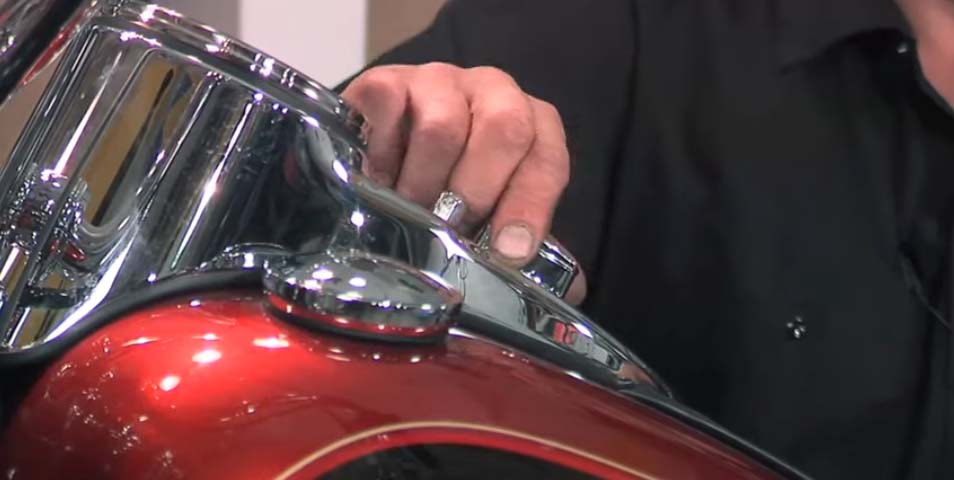
Replacing your Harley’s ignition switch is relatively straightforward. Begin by disconnecting the battery cables, then remove the two retaining screws that hold the switch in place (these should be located on either side of the mount). Unplug the connectors from the old switch and plug them into the new one before mounting it back in its original position using those same two screws. Finally, reconnect your battery cables and test out your newly installed ignition switch by starting up your engine – you should find that everything works perfectly!
Conclusion
Troubleshooting and replacing an unreliable or broken Harley ignition switch doesn’t have to be difficult or expensive! By following this guide, you should be able to diagnose issues with your existing switch as well as replace it yourself quickly and easily. Keep this information handy so you can get back on the road again quickly when those inevitable problems arise!