Harley-Davidson motorcycles are known for their power and reliability, but they can still experience electrical problems due to a blown fuse or other issues with their wiring or circuitry systems – which can cause dangerous malfunctions while you’re on the road. Knowing how to locate and replace a blown fuse or diagnose any other electrical issues in your vehicle’s wiring system can help you stay safe and protect your vehicle from further damage. In this article, we’ll explain the Harley Davidson fuse box location, what types of fuses are in the box, how to access and replace a blown fuse, and some troubleshooting tips for Harley Davidson fuse box location issues.
Harley Davidson Fuse Box Location: An Overview
The Harley Davidson fuse box is typically located under the left side of the rider seat. It is generally a black plastic unit with several fuses inside of it. All models have different capacities, so it’s important to identify which type of model you have before attempting any repairs or replacements.
Where is the Fuse Box Located?
The main Harley-Davidson fuse box is usually located under the rider’s left side seat or under the fuel tank on older models. It can be identified by its black color and small size (approximately 8x4x2 inches). If you cannot locate yours, refer to your owner’s manual for detailed instructions on where it should be located in your particular model.
What are the Different Types of Fuses in the Harley Davidson Fuse Box?
The type of fuse used in Harley Davidson vehicles will usually depend on the model and year it was manufactured. Most models from 2010 onwards use a mini blade-style fuse, while earlier models typically used glass tube fuses. Be sure to check your owner’s manual for specific information about which type of fuse is necessary for your model.
How to Access and Replace a Blown Fuse?
Before attempting to access or replace a blown fuse, be sure to turn off all power sources to the vehicle – this includes disconnecting the battery cables and any other electrical components that may be connected. Once you have done so, locate and unplug the main Harley-Davidson fuse box under your seat or tank (depending on model). If necessary, refer to your owner’s manual for specific instructions on how to remove it. Once removed, you should be able to see all of the fuses inside – each one labeled with its intended purpose so that you can easily identify which one is causing trouble. After locating it, simply replace it with a new one of an appropriate size and then return everything back into place – being careful to ensure that all connections are properly secured.
Troubleshooting Tips for Harley Davidson Fuse Box Location Issues
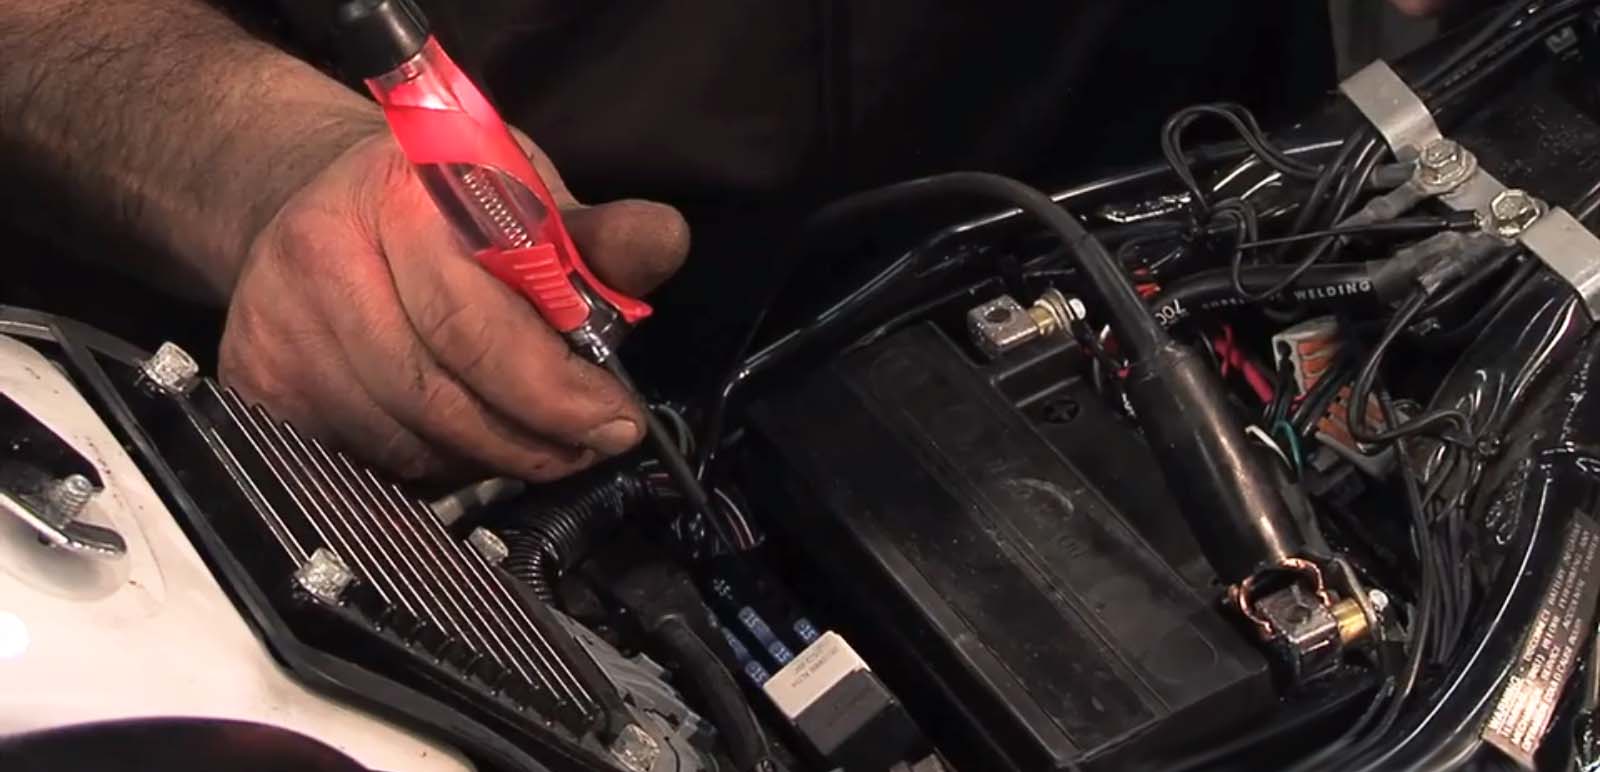
If you’re still having issues with your Harley Davidson’s electrical system, it may be due to a wiring or circuitry issue rather than a blown fuse. To diagnose this, you will need to access the wiring and look for any damaged or disconnected wires. If you cannot do this yourself, it is best to consult with a professional mechanic who can help identify and repair any issues that may exist. Also read here how to diagnose bad stator symptoms in Harley motorcycles and what to do if they occur.
Conclusion
Harley Davidson motorcycles are reliable and powerful machines – but they can still experience electrical issues due to blown fuses or other wiring problems. In this article, we have provided an overview of the Harley Davidson fuse box location, what types of fuses are used in them, how to access and replace a blown fuse, and some troubleshooting tips for Harley Davidson fuse box location issues. By following these simple steps you should be able to quickly identify and resolve any electrical problems your motorcycle may be experiencing – ensuring that it continues running safely for many years!