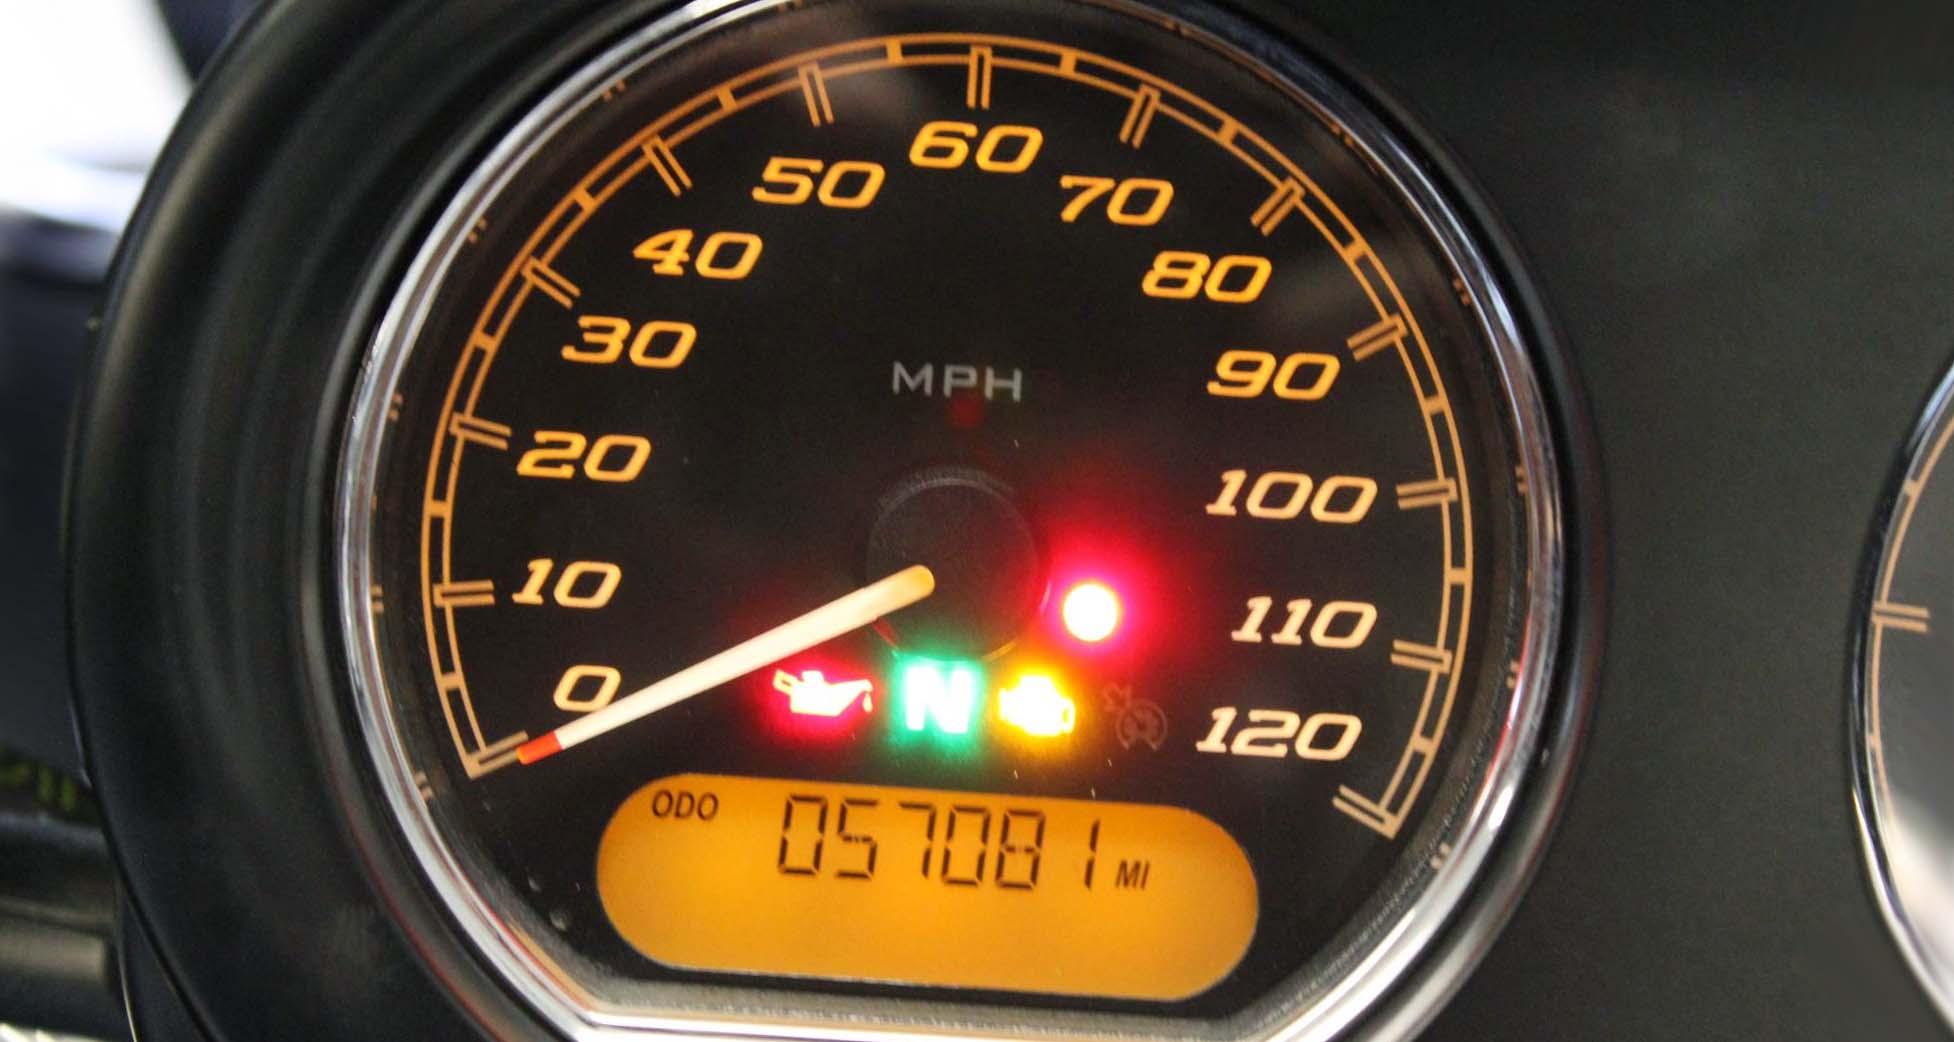
Harley Davidson Dash Warning Lights are used to inform riders of the status of their motorcycle’s performance. These lights help you diagnose any issues with the bike’s engine, electrical system, and other components. Knowing what each light means can help you take corrective action before any major damage occurs. There are five main dashboard warning lights that appear on Harley Davidson machines: Check Engine Light, Low Oil Pressure Light, Battery Charge/Voltage Light, Cruise Control Light, and Fuel Level Indicator.
Common Dashboard Warning Lights
-
Check Engine Light: The check engine light indicates there is an issue with the engine or parts associated with it like the exhaust system or emission controls. This could be due to a loose connection or a malfunctioning component within your bike’s engine system. It is important to get this checked as soon as possible by a certified technician to make sure that no further damage is caused to your Harley Davidson motorbike’s engine if left unchecked for too long.
-
Low Oil Pressure Light: The low oil pressure light signals when there is inadequate oil pressure within the machine’s engine system which can cause extensive damage if not looked into immediately replacement or recharging from a technician.
-
Cruise Control Light: The cruise control light indicates that there is an issue with the cruise control system, usually due to an electrical fault such as a broken wire or malfunctioning switch. You will need to inspect these components visually or with diagnostic tools in order to pinpoint the source of the issue and get it fixed by an experienced technician if necessary.
-
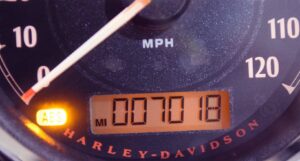
Fuel Level Indicator: The fuel level indicator light informs you when your fuel tank is running low and needs refuelling soon. When this light comes on, you should fill up as soon as possible in order to avoid any issues such as stalling out in traffic or running out of fuel while riding on long trips away from civilization areas where help is not easily accessible. If you are having trouble starting your Harley, it may be time to replace the starter relay. Find here a step-by-step guide to replace your Harley Davidson starter relay so that you can get back on the road quickly and safely.
Troubleshooting Dashboard Lights
-
Check Engine Light: If you see the check engine light come on, it’s best to take your bike to a certified technician and have them diagnose the problem for you. They will use diagnostic equipment to pinpoint the source of the issue and advise you on how best to fix it.
-
Low Oil Pressure Light: If this light comes on, check your oil level as soon as possible and top off if necessary with the recommended oil grade for your Harley Davidson machine. It may also be necessary to drain and replace old oil if it has become too dirty or contaminated over time; again, consult with a certified technician if this is the case. If this doesn’t solve your low oil pressure issue, then a mechanic will need to inspect all of your motorbike’s engine components for any signs of malfunctioning or wear-and-tear that could be causing issues in its performance.
-
Battery Charge/Voltage Light : This light signals when there is an issue with battery charging due to a loose connection or failing component within the electrical system. You should first try cleaning any corroded connections or wiring , then inspect all components for any signs of damage. If the issue persists, you should have a mechanic look into it further.
-
Cruise Control Light : If your cruise control light is on, check for any loose or broken wiring in the bike’s electrical system and inspect any switches associated with the cruise control that could be malfunctioning. If this doesn’t solve the problem, then a mechanic will need to take a closer look at your bike’s electrical system and replace or repair any parts that may be causing issues within your Harley Davidson’s performance.
-
Fuel Level Indicator: The fuel level indicator alerts you when your tank is running low and needs to be refuelled right away. Make sure to fill up as soon as possible in order to avoid any issues while on long rides away from civilization areas where help may not be easily accessible.
| Warning Light | Troubleshooting Method |
| Check Engine Light | Take your bike to a certified technician for diagnosis with diagnostic equipment or visual inspection by experienced mechanic |
| Low Oil Pressure Light | Check oil level, top off if needed, replace if old or contaminated |
| Battery Charge/Voltage Light | Clean any corroded connections or wiring and inspect components for damage or malfunctioning |
| Cruise Control Light | Check wiring and switches associated with cruise control for any issues; have mechanic take closer look if needed |
| Fuel Level Indicator | Fill up as soon as possible when light comes on to avoid running out of fuel while on long rides |
Conclusion
Harley Davidson Dash Warning Lights are important indicators that inform riders of the bike’s performance status. Knowing what each light means can help you to diagnose any issues and take corrective action before any major damage occurs. By understanding the common dashboard warning lights, their meanings, and how to troubleshoot them, you can keep your Harley Davidson in optimal condition throughout its life span.